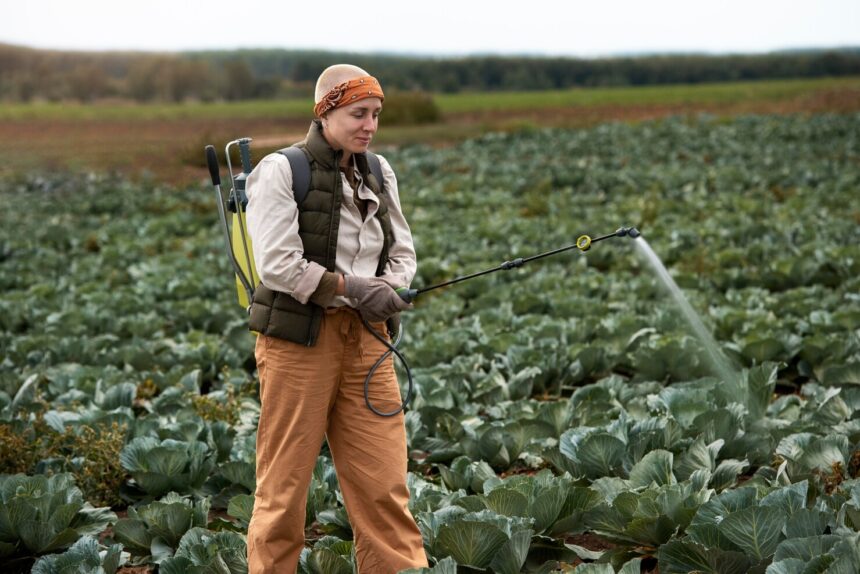
Calibrating your knapsack sprayer is essential for accurate and safe chemical application. Whether you are applying pesticides, herbicides, or fertilizers, proper calibration ensures that you use the correct amount of product per area. Over-application wastes chemicals, increases costs, and can harm crops or the environment. Under-application reduces effectiveness and allows pests or weeds to persist. Regular calibration improves efficiency, saves money, and keeps your spraying consistent.
1. Understand Why Calibration Matters
Every sprayer delivers liquid at a different rate depending on nozzle type, walking speed, and pressure. Two people using identical sprayers may apply different amounts of chemical per hectare if their pace or pressure differs. Calibration eliminates this variation. It ensures that your output matches the recommended application rate provided on the chemical label.
2. Gather the Required Tools
Before you start, prepare the following:
- Measuring cylinder or jug
- Stopwatch or timer
- Measuring tape
- Bucket or container for collecting spray output
- Clean water (never use chemicals during calibration)
- Protective clothing including gloves and mask
Having accurate measuring tools and a clean sprayer prevents contamination and provides reliable results.
3. Check the Sprayer Condition
Inspect your sprayer before calibration. Look for leaks, worn seals, or damaged nozzles. Replace or clean clogged nozzles to ensure even spray distribution. Check that the pressure regulator and hose connections are functioning correctly. A faulty sprayer will give false results and waste time.
4. Mark Out a Test Area
Use a measuring tape to mark a test area of 100 square meters. This area is easy to calculate and provides a practical size for calibration. You can mark it as a rectangle, such as 10 meters by 10 meters. Ensure the surface is similar to the area you will spray in actual use.
5. Determine Your Walking Speed
Walking speed affects how much chemical is applied per area. Fill the sprayer with clean water and spray the test area at a comfortable, consistent pace. Record the time it takes to cover the 100 square meters using a stopwatch. Repeat the test two or three times to get an average time. Consistency is key.
6. Measure the Sprayer Output
Next, measure how much liquid your sprayer releases during that time. Fill the tank again with clean water. Spray into a bucket for the same duration as your average walking time, keeping the same pressure and nozzle setting used during the test. Measure the volume of water collected. This gives you the sprayer’s output for the 100 square meters.
7. Calculate the Application Rate
To find the amount of spray applied per hectare, multiply the amount collected by 100. For example, if your sprayer delivered 1.5 liters over 100 square meters, the rate per hectare is 150 liters (1.5 x 100). Compare this with the application rate recommended on the product label.
If the rate is too high, reduce the nozzle size, lower pressure, or increase walking speed. If it is too low, use a larger nozzle, increase pressure, or slow your walking pace. Repeat the process until you reach the correct rate.
8. Mix Chemicals Safely After Calibration
Once you have established the correct rate, you can mix your chemical solution following label instructions. Always wear protective equipment and mix chemicals in a well-ventilated area. Only prepare the amount needed for the day’s work to avoid waste.
9. Maintain Your Equipment
After each use, clean the sprayer thoroughly with water and mild detergent. Rinse the nozzles and filters to prevent buildup. Store the sprayer in a dry place away from sunlight to extend its lifespan. Regular maintenance keeps calibration consistent and prevents uneven spraying.
10. Common Calibration Mistakes to Avoid
- Calibrating with chemicals instead of clean water
- Ignoring nozzle wear or clogs
- Changing walking speed during spraying
- Failing to recalibrate after replacing parts or nozzles
Each of these errors can lead to inaccurate application rates and reduced effectiveness.
Calibrating your knapsack sprayer ensures precise chemical application, protects your crops, and minimizes waste. The process takes less than an hour but provides long-term benefits in efficiency and safety. By testing your walking speed, measuring output, and adjusting pressure or nozzles, you can match your application rate to the manufacturer’s recommendation. Repeat calibration regularly, especially after repairs or nozzle changes, to maintain accuracy. Proper calibration is not just a technical step; it is a vital part of responsible farming that safeguards your yield, the environment, and your health.
Join 'Farmers Mag' WhatsApp Channel
Get the latest Farming news and tips delivered straight to your WhatsApp
CLICK HERE TO JOIN