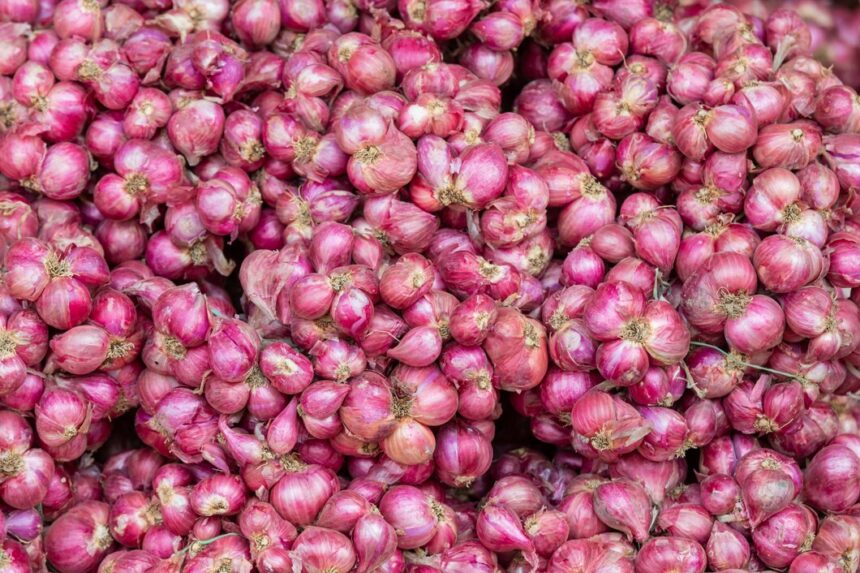
Shallots are a popular and versatile vegetable that adds flavor to various dishes. They are relatively easy to grow and can be cultivated successfully in South Africa’s diverse climates. This article will guide farmers through the entire process of growing shallots from seed to harvest, including land preparation, soil requirements, inputs, pest management, and storage.
1. Land Preparation
Before planting shallots, proper land preparation is essential to create an optimal growing environment.
- Site Selection: Choose a well-drained site with full sunlight exposure. Avoid areas with standing water or heavy clay soil.
- Soil Testing: Conduct a soil test to determine pH and nutrient levels. Shallots prefer a slightly acidic to neutral pH (6.0 to 7.0).
- Soil Preparation: Clear the field of weeds and debris. Plow the soil to a depth of 15-20 cm and incorporate organic matter such as well-rotted manure or compost to enhance soil fertility and structure.
2. Soil Requirements
- Soil Type: Shallots thrive in sandy loam or loamy soils that are rich in organic matter. Avoid heavy clay soils that retain too much moisture, as this can lead to root rot.
- Fertilization: Incorporate a balanced fertilizer (N-P-K: 10-10-10) into the soil before planting. A nitrogen-rich fertilizer is particularly beneficial during the early growth stages.
3. Planting Shallots
- Seed Selection: Choose high-quality shallot seeds or sets (small bulbs) from reputable suppliers. Popular varieties include ‘Gray Shallot’ and ‘Echalion.’
- Planting Time: In South Africa, the optimal planting time is early spring (August to September) or late summer (February to March) depending on the region.
- Planting Method: Sow seeds directly into the soil at a depth of 1-2 cm, spacing them 10-15 cm apart in rows 30 cm apart. If using shallot sets, plant them with the pointed end facing up, burying them just below the soil surface.
4. Water Requirements
- Watering Schedule: Shallots require consistent moisture, particularly during the germination and early growth stages.
- Frequency: Water shallots deeply once a week, ensuring the soil remains consistently moist but not waterlogged. Adjust watering frequency based on rainfall and soil moisture levels, especially during dry spells.
5. Growth Stages
- Germination (Days 7-14): Shallot seeds will germinate within 7-14 days. During this stage, keep the soil moist and monitor for weeds.
- Vegetative Growth (Weeks 2-8): Young plants will develop green tops and roots. Fertilize with a nitrogen-rich fertilizer 4-6 weeks after planting to promote leafy growth.
- Bulb Development (Weeks 8-16): As the shallots mature, focus on providing adequate water and nutrients. Bulbs will begin to swell, and tops will start to yellow as harvest approaches.
- Maturation (Weeks 16-20): Shallots are ready for harvest when the tops turn brown and fall over. This typically occurs 16-20 weeks after planting.
6. Pest and Disease Management
Shallots can be affected by various pests and diseases. Monitoring and early intervention are key to managing these issues.
- Common Pests:
- Onion Maggot: Look for wilting plants with holes in the bulbs. Use insecticidal soap or neem oil at the first signs of infestation.
- Thrips: Tiny, fast-moving insects that cause silver streaks on leaves. Apply insecticidal soap or pyrethrin at the first signs.
- Common Diseases:
- Downy Mildew: Appears as yellow or purple patches on leaves. Use a fungicide at the first signs, and ensure proper air circulation between plants.
- Fusarium Bulb Rot: Caused by overwatering or poor drainage, resulting in mushy bulbs. Practice crop rotation and avoid planting shallots in the same location for consecutive years.
7. Harvesting Shallots
- Timing: Harvest shallots when the tops have fallen over and turned brown, usually 16-20 weeks after planting. This indicates that the bulbs have matured.
- Method: Gently lift the shallots using a garden fork, taking care not to bruise the bulbs. Avoid pulling them up by the tops to prevent damage.
8. Post-Harvest Handling and Storage
- Curing: Allow harvested shallots to cure in a dry, well-ventilated area out of direct sunlight for 2-3 weeks. This process helps develop their flavor and extends storage life.
- Cleaning: Once cured, gently clean the shallots, removing any excess dirt. Trim roots and tops, leaving about 2-3 cm of green tops.
- Storage: Store cured shallots in a cool, dark, and dry place (ideally 0-5°C) with good air circulation. Properly stored shallots can last for several months.
9. Input Requirements
- Machinery: Basic tools such as a seed drill or hand planter for sowing, a hoe for weeding, and a garden fork for harvesting are essential. Depending on the scale, larger farms may require tractors and specialized planting and harvesting equipment.
- Pesticides and Herbicides: Use herbicides as needed to manage weed competition, applying them pre-emergence to prevent weed growth without affecting shallot germination. Always follow label instructions and local regulations for pesticide application.
Growing shallots from seed to harvest requires careful planning and attention to detail. By understanding the growth stages, managing soil and water requirements, monitoring for pests and diseases, and implementing effective post-harvest practices, South African farmers can successfully cultivate shallots and enjoy a profitable harvest. With proper care and management, shallots can be a valuable addition to any farm’s crop portfolio, contributing to food security and economic growth.
Join 'Farmers Mag' WhatsApp Channel
Get the latest Farming news and tips delivered straight to your WhatsApp
CLICK HERE TO JOIN


