Herb farming is a growing industry globally, with a strong demand for high-quality dried herbs in markets such as North America, Europe, and Asia. Whether for culinary, medicinal, or cosmetic purposes, herbs play an essential role in many industries, creating lucrative opportunities for farmers and producers looking to export their products. However, successful herb exportation goes beyond just growing the plants; the drying and packaging processes are crucial for ensuring the herbs remain fresh, flavorful, and meet international standards.
In this guide, we’ll walk you through the essential steps to properly dry and package herbs for export, helping you meet the needs of global buyers and ensure your products arrive in perfect condition.
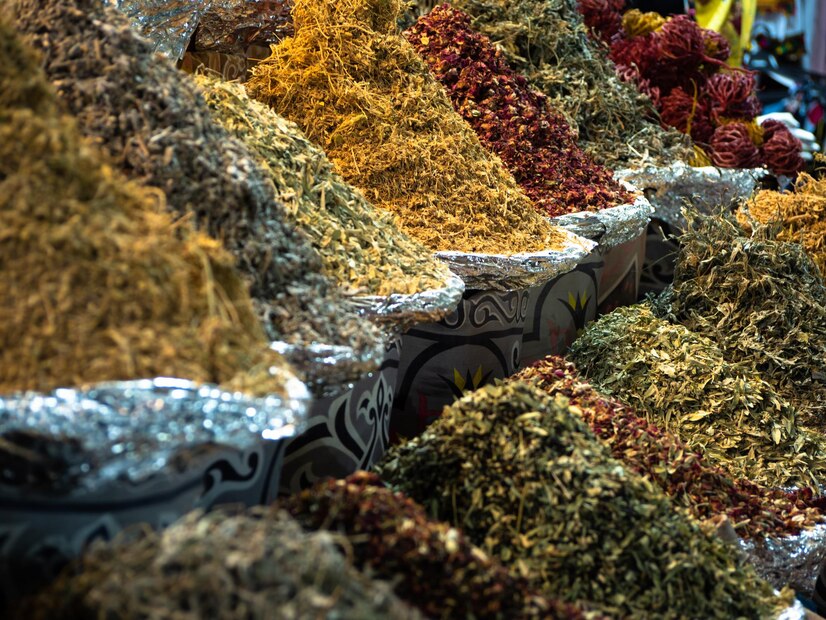
The Importance of Drying and Packaging Herbs for Export
Drying herbs is necessary to preserve their flavor, aroma, and medicinal properties while also extending shelf life. Herbs that are not properly dried may lose their potency, develop mold, or become a breeding ground for pests. Packaging is equally important as it protects the herbs during transport, maintains freshness, and meets regulatory requirements in the destination market.
Proper drying and packaging not only prevent loss during transportation but also enhance the product’s appeal to consumers by ensuring that the herbs are in prime condition when they reach the market.
Step 1: Harvesting the Right Way
The first step to successful herb exportation starts with proper harvesting. Timing is crucial—herbs should be harvested when they have reached full maturity, but before they flower, as this is when they have the highest concentration of essential oils, flavor, and medicinal compounds. Harvesting should be done in the morning, after the dew has dried but before the heat of the day to avoid loss of volatile oils.
Use clean, sharp tools to cut the herbs and avoid bruising the leaves. For herbs like basil, mint, and oregano, remove the leaves from the stems once harvested. For others like rosemary or thyme, you may leave the leaves on the stem for easier handling during drying.
Step 2: Choosing the Right Drying Method
Once the herbs are harvested, it’s time to dry them. The method you choose will depend on the type of herb, its intended use, and the scale of your operation. Below are the most common drying methods used for herbs:
1. Air Drying (Hanging)
Air drying is one of the oldest and simplest methods for drying herbs. It involves hanging bundles of herbs in a cool, dry, and well-ventilated space. Make sure the herbs are kept away from direct sunlight, as this can degrade their quality. Hang the bundles upside down to allow air circulation around the leaves. This method is best for herbs with sturdy leaves like rosemary, thyme, and sage.
2. Oven Drying
If you need to speed up the drying process, an oven can be used. Set the oven to a low temperature, around 30°C to 40°C (85°F to 105°F), and place the herbs on a baking sheet in a single layer. Leave the oven door slightly ajar to allow moisture to escape. Oven drying is ideal for herbs like basil and mint, but it requires careful monitoring to avoid overheating and compromising the herbs’ oils.
3. Dehydrator Drying
A food dehydrator is another effective method for drying herbs. Dehydrators use low heat and air circulation to remove moisture efficiently without compromising the quality of the herbs. This method works well for a wide range of herbs and is particularly useful for bulk drying, as it provides consistent results.
4. Solar Drying
In regions with consistent sunny weather, solar drying can be a viable option. Using a solar dryer or simply laying the herbs out on a drying rack in direct sunlight, this method harnesses natural energy to remove moisture. However, be cautious of humidity levels and the risk of pests, which could affect the final quality of the herbs.
Step 3: Testing the Herbs for Proper Dryness
Properly dried herbs should be brittle and crumble easily when touched. If the herbs feel soft or flexible, they are not fully dried and should be returned to the drying area. Make sure there is no trace of moisture left in the leaves, as any residual moisture can lead to mold growth during storage or shipping.
To test for dryness, you can break a small amount of the herb. If the stem snaps easily and the leaves crumble without any moisture, the herbs are ready for packaging. If they bend or feel damp, continue drying them until they are completely dry.
Step 4: Packaging Herbs for Export
Once the herbs are fully dried, the next crucial step is packaging. Proper packaging protects the herbs from damage during transit and ensures they remain fresh and potent when they reach international markets. Here’s how to package your herbs effectively:
1. Choose the Right Packaging Material
Select packaging materials that are both functional and compliant with international standards. Popular packaging options for herbs include:
- Vacuum Sealed Bags: Vacuum-sealing removes air from the packaging, preventing oxidation and moisture buildup. This is ideal for herbs that need to maintain their aroma and flavor.
- Glass Jars or Bottles: Glass containers offer excellent protection against moisture and preserve the flavor and scent of the herbs. They are a great option for premium products.
- Mylar Bags: These bags are often lined with a layer of aluminum, making them an excellent choice for keeping out light and moisture.
- Plastic Pouches: Lightweight and cost-effective, these can be used for bulk exports. Look for high-quality, food-grade plastic that is airtight and resealable.
2. Labeling and Compliance
Ensure your herbs are properly labeled with clear information on the contents, weight, origin, and other necessary details. Export markets often require compliance with specific labeling regulations, so check the rules for the target country. Labels should include:
- Name of the herb
- Country of origin
- Weight and quantity
- Any certifications (organic, fair trade, etc.)
- Best-before dates
3. Packaging for Shipment
Consider the shipping method when packaging herbs. For air and sea transport, ensure the packaging is robust enough to withstand handling during transit. You can use cartons or shipping containers to group smaller packages together, making them easier to handle and ensuring they are protected from crushing.
Step 5: Storage and Handling
After packaging, store the herbs in a cool, dry location to prevent moisture absorption. Avoid storing them in areas with fluctuating temperatures or high humidity, as this can cause condensation inside the packaging, leading to spoilage.
Before shipping, ensure that all export documentation, including certificates of origin and phytosanitary certificates, are in order. This will help you avoid any delays or customs issues during export.
Step 6: Shipping and Export Documentation
Once your herbs are packaged and ready to go, arrange for transport and ensure that all export documentation is complete. Depending on the destination country, you may need certificates proving the herbs meet local health and safety standards, such as the Phytosanitary Certificate, which verifies that the herbs are free from pests and diseases.
Conclusion
Drying and packaging herbs for export requires careful attention to detail to ensure that the herbs retain their quality, flavor, and aroma throughout the shipping process. By following the steps outlined in this guide—harvesting at the right time, choosing the right drying method, packaging them securely, and complying with export regulations—you can successfully enter the global market and meet the needs of international buyers. With the right approach, your herbs can become a valuable export product, contributing to the growing demand for natural, high-quality ingredients worldwide.
Join 'Farmers Mag' WhatsApp Channel
Get the latest Farming news and tips delivered straight to your WhatsApp
CLICK HERE TO JOIN