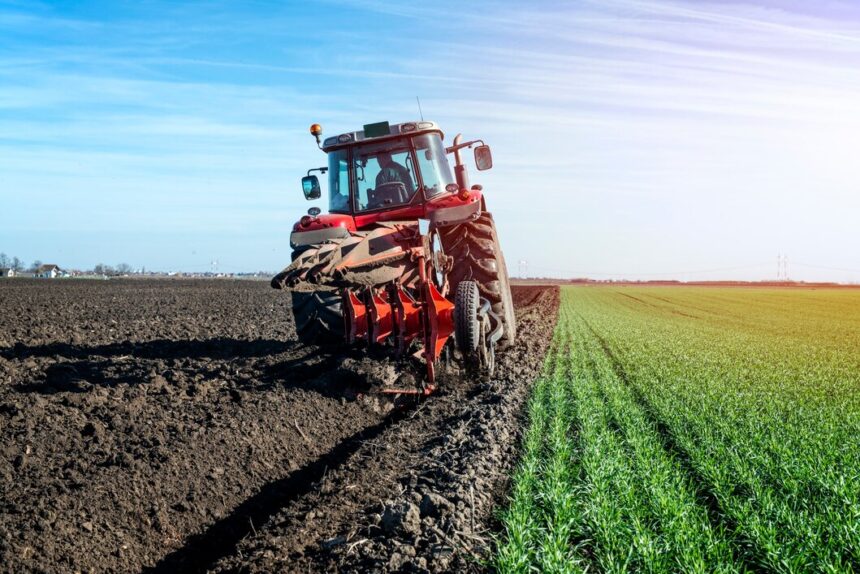
Tractors are essential tools for modern farming, helping to maximize efficiency and productivity in field cultivation. They can handle a variety of tasks, from plowing to tilling, and preparing soil for planting. Here’s a guide on how to use a tractor for effective field cultivation.
1. Choose the Right Tractor and Attachments
The first step in effective field cultivation is selecting the appropriate tractor and attachments. Tractors come in various sizes and power capacities, so it’s essential to choose one that suits your field size and the type of soil you’re working with. The most common attachments for field cultivation include:
- Plows: Used for turning over the soil to break up compacted ground.
- Tillers: Help break the soil into finer particles, improving aeration and making it easier for plants to grow.
- Cultivators: Used to break up weeds and further prepare the soil for planting.
- Harrows: Used for leveling the soil and breaking up clods after plowing.
2. Prepare the Tractor
Before starting, ensure that the tractor is in good working condition. Check the oil, fuel, and tire pressure. If necessary, change the oil and clean the air filter to ensure optimal engine performance. Inspect the attachments to confirm they are properly secured and functional. Check the hydraulic system if you are using attachments that require hydraulic power.
3. Adjust the Tractor Settings
Different types of soil and cultivation tasks require specific tractor settings. Adjust the depth of the attachments (plow, tiller, or harrow) based on the soil condition and the crops you intend to grow. For example:
- For shallow tilling, set the tiller or plow to a lower depth.
- For deep tilling to break hard soil, increase the depth slightly.
Make sure the PTO (Power Take-Off) speed matches the requirements for the attachment being used.
4. Operate the Tractor Efficiently
Start the tractor and engage the chosen attachment. Keep a steady speed while cultivating, ensuring the soil is worked evenly. Avoid driving too fast as it could lead to uneven cultivation, which might hinder crop growth.
For plowing, move in straight rows, making sure to overlap the passes slightly to ensure no soil is left untouched. If using a tiller, ensure the soil is broken down into smaller particles for better aeration. When using a cultivator, slow down slightly to allow it to uproot weeds and prepare the seedbed.
5. Monitor Tractor Performance
While operating the tractor, keep an eye on the engine temperature, fuel levels, and attachment performance. If the tractor starts to overheat or the attachment gets clogged, stop to address the issue before continuing. It’s also important to watch for signs of uneven cultivation, such as rough patches or unworked soil, and make adjustments as needed.
6. Post-Cultivation Checks
After completing the cultivation process, perform a thorough check on the tractor and attachments. Clean any debris or soil that has accumulated on the equipment. Check the soil for proper depth and consistency, ensuring it is ready for planting.
7. Maintain the Tractor Regularly
Routine maintenance is key to keeping your tractor running efficiently for long periods. Regularly change the oil, replace filters, and inspect all moving parts. Keeping the tractor in optimal condition will ensure it can handle the demands of field cultivation for seasons to come.
Using a tractor for field cultivation can significantly enhance farming productivity. By choosing the right tractor and attachments, adjusting settings based on soil conditions, and operating the tractor efficiently, farmers can ensure that their fields are properly prepared for planting. Regular maintenance will further ensure that the tractor remains in good condition, ready for the next cultivation task.
Join 'Farmers Mag' WhatsApp Channel
Get the latest Farming news and tips delivered straight to your WhatsApp
CLICK HERE TO JOIN


