Melons are a popular and profitable crop for South African farmers, known for their high market demand and relatively simple cultivation requirements. This article provides a comprehensive guide on the process of growing melons from seed to harvest, including land preparation, growth stages, input requirements, and disease management.
1. Land Preparation
Soil Requirements
- Soil Type: Melons thrive in well-drained, sandy loam or loamy soils with a pH between 6.0 and 7.0. Sandy soils are preferable as they retain moisture without becoming waterlogged.
- Soil Testing: Conduct a soil test to determine nutrient levels, pH, and any deficiencies. Amend the soil based on the test results.
Land Preparation Steps
- Tilling: Begin by tilling the land to a depth of about 30 cm to aerate the soil and improve drainage.
- Soil Amendments: Incorporate organic matter (like compost) to enhance soil fertility and structure. Apply lime to adjust pH if necessary.
- Bed Formation: Form raised beds or mounds to improve drainage, especially in regions with heavy rainfall.
2. Seed Selection and Sowing
Seed Selection
- Variety: Choose varieties suited for the local climate and market demands, such as watermelon (e.g., Crimson Sweet) or cantaloupe (e.g., Ambrosia). Consider disease resistance and fruit characteristics.
Sowing Process
- Timing: Plant seeds in spring (September to October) after the last frost date, when soil temperatures are consistently above 15°C.
- Seed Depth: Sow seeds about 2.5 cm deep, spacing them 30-45 cm apart in rows spaced 1.5 to 2 meters apart.
- Irrigation: Water the soil before planting to ensure adequate moisture for germination. After sowing, maintain consistent moisture without waterlogging.
3. Germination and Seedling Stage (1-3 Weeks)
Germination
- Duration: Seeds typically germinate within 5 to 10 days, depending on soil temperature and moisture.
- Inputs: Ensure consistent soil moisture using drip irrigation or light sprinkler systems. Avoid overwatering, which can lead to damping-off diseases.
Seedling Care
- Thinning: Once seedlings reach about 5 cm tall, thin them to one plant per spot to prevent overcrowding and ensure proper air circulation.
4. Vegetative Stage (3-6 Weeks)
Growth Development
- Leaf Growth: During this stage, plants develop foliage. Monitor for healthy, vigorous growth.
- Watering: Water deeply and infrequently, providing about 2.5 to 5 cm of water per week, depending on weather conditions. Increase frequency during hot, dry periods.
Fertilization
- Fertilizer Types: Apply a balanced NPK (nitrogen, phosphorus, potassium) fertilizer (e.g., 10-10-10) at planting and a nitrogen-rich fertilizer (e.g., urea) once plants are established to encourage leafy growth.
- Application Timing: Apply fertilizers every 4 to 6 weeks, following soil test recommendations.
5. Flowering Stage (6-8 Weeks)
Pollination
- Flower Development: Male and female flowers appear on the same plant. Bees and other pollinators play a crucial role in fruit set.
- Pesticide Use: Avoid applying pesticides during flowering to protect pollinators. If pest pressure is high, consider using organic or less harmful options.
Watering and Fertilization
- Water Needs: Maintain consistent moisture but reduce the frequency slightly to avoid excess moisture, which can lead to root rot.
- Fertilization: Switch to a low-nitrogen fertilizer, focusing on potassium and phosphorus to promote flowering and fruit development.
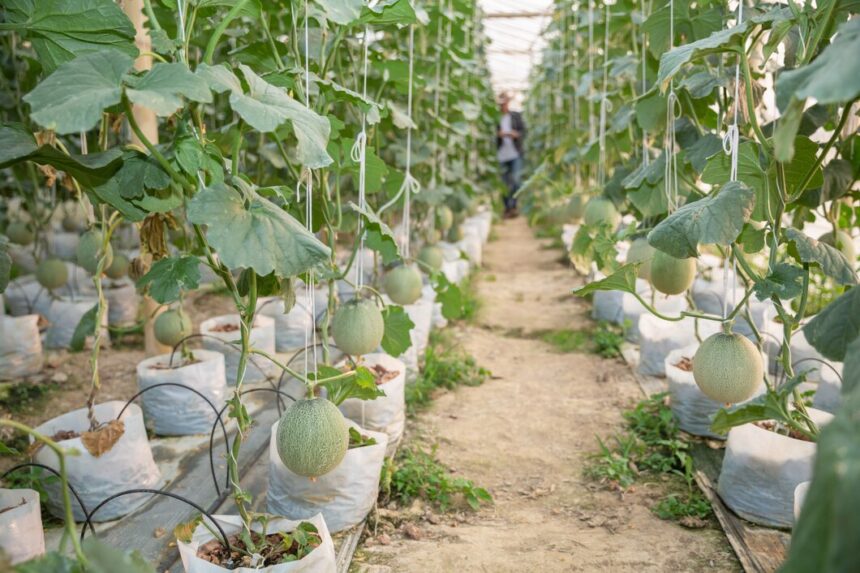
6. Fruit Development (8-12 Weeks)
Fruit Growth
- Monitoring: Observe fruit size and color. Ensure the plants receive adequate nutrients and water.
- Weed Management: Use mulch to suppress weeds and retain soil moisture. Manual weeding may also be necessary.
Pest and Disease Management
- Common Pests: Monitor for aphids, cucumber beetles, and spider mites. Use insecticidal soap or neem oil as a preventive measure.
- Diseases: Look out for powdery mildew, downy mildew, and fusarium wilt. Implement crop rotation and good sanitation practices to reduce disease incidence.
7. Harvesting (12-16 Weeks)
Harvest Indicators
- Timing: Melons are typically ready for harvest when they change color (the underside turns yellow), become slightly soft at the stem, and produce a sweet aroma.
- Harvest Method: Use sharp knives or pruners to cut melons from the vine, leaving a short stem attached to prevent spoilage.
8. Post-Harvest Handling and Storage
Post-Harvest Care
- Cleaning: Gently wash melons to remove soil and debris. Avoid harsh handling to prevent bruising.
- Storage Conditions: Store harvested melons in a cool, dry place at temperatures between 10°C and 15°C to prolong shelf life.
Packaging and Marketing
- Packaging: Use breathable packaging materials to prevent moisture buildup during storage and transportation.
- Market Planning: Develop marketing strategies, including local farmers’ markets, grocery stores, or direct sales to consumers.
Growing melons in South Africa can be a rewarding venture when done correctly. By understanding the growth stages, soil requirements, pest management, and storage techniques, farmers can maximize their yields and ensure high-quality produce. With proper planning and care, melons can provide a profitable addition to any farming operation.