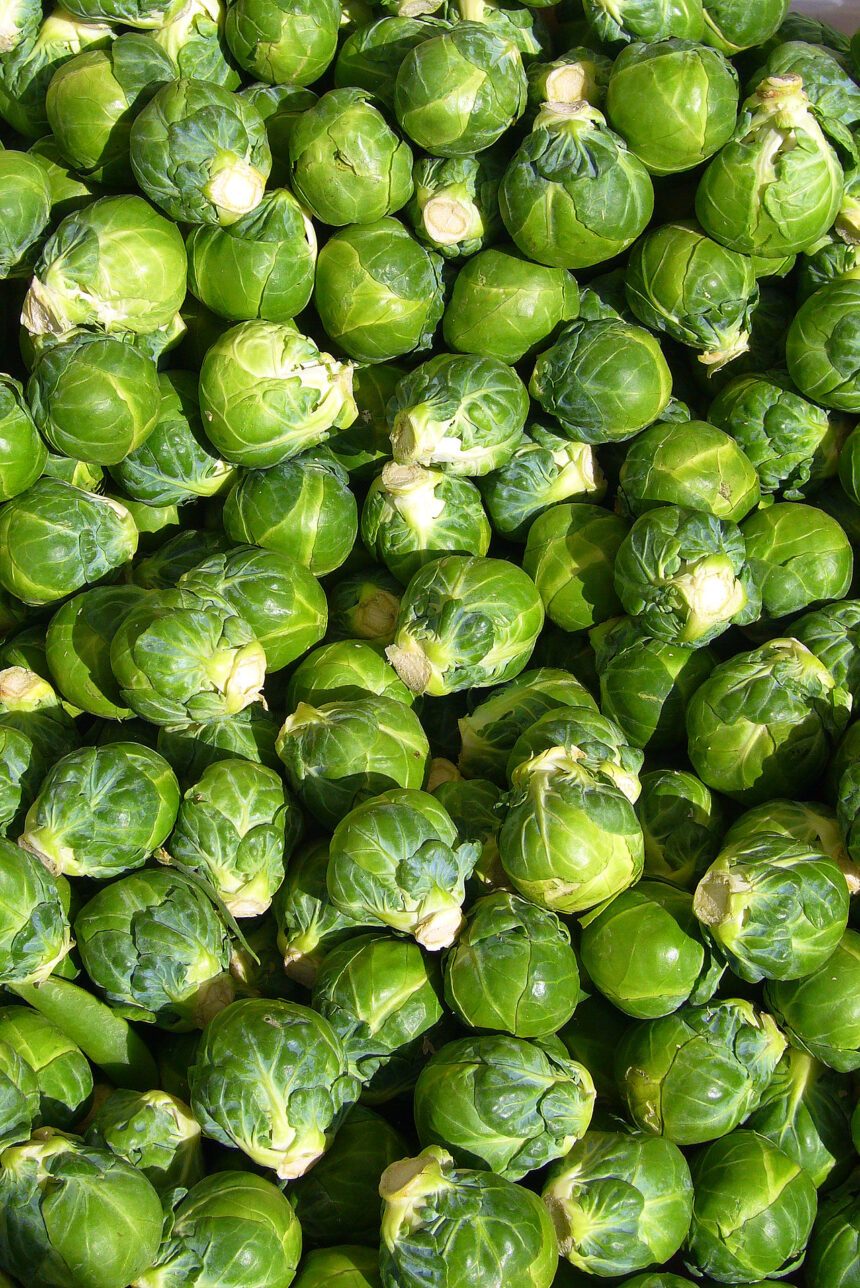
Brussels sprouts are a nutrient-dense vegetable increasingly sought after in South Africa for their health benefits and versatility in the kitchen. Although they require careful management and attention, growing Brussels sprouts can be highly rewarding. This guide provides South African farmers with a step-by-step process of growing Brussels sprouts, from seed to harvest and storage, covering critical inputs, machinery, pest and disease management, fertilizers, and soil requirements.
1. Land Preparation
Soil Requirements
Brussels sprouts thrive in well-drained, fertile soils with a pH between 6.0 and 6.8. In South Africa, loam or sandy loam soils are ideal for their growth. Avoid heavy clay soils that retain too much moisture, as this can lead to root rot. Before planting, test your soil for pH levels and nutrient content. Lime may be needed to raise the pH if your soil is too acidic.
Land Preparation Steps
- Tillage: Use a tractor with a plow or harrow to till the soil 30 cm deep. This loosens the soil and improves root penetration.
- Weed Control: Remove any weeds before planting. You can use a pre-plant herbicide or mechanical weeding tools to clear the area.
- Fertilization: Before planting, apply a balanced fertilizer (like 2:3:4 NPK) to enrich the soil. Incorporate compost or organic matter to boost soil fertility.
2. Sowing and Germination
Planting Seeds
Brussels sprouts grow best when planted in cool weather, making them ideal for late winter and early spring planting in South Africa’s cooler regions like the Western Cape or high-altitude areas. Direct seeding or transplanting is an option, though starting seeds in seed trays is more common.
- Seeding Method: Sow seeds in trays 6–8 weeks before transplanting to the field. Plant seeds about 1 cm deep in a seed-starting mix.
- Transplanting: After 6–8 weeks, when seedlings are 10–15 cm tall and have at least 4–5 true leaves, transplant them to the field. Space the plants 60–70 cm apart in rows with 75 cm between rows.
Water Requirements During Germination
- Watering Frequency: Keep the soil moist but not waterlogged during the germination and seedling stages. Irrigate every 2–3 days using a drip irrigation system for even moisture distribution.
- Machinery: Small farmers can use handheld seedling transplanters, while large-scale farmers may consider automated transplanting machinery for efficiency.
3. Growth and Maintenance
Watering and Irrigation
Brussels sprouts require consistent moisture to thrive. Ensure the soil remains evenly moist, especially as the plants grow and form sprouts.
- Water Requirements: They require about 25–30 mm of water per week. Overhead sprinklers or drip irrigation systems work well for Brussels sprouts.
- Water Frequency: Irrigate once or twice weekly, depending on weather conditions and soil moisture.
Fertilization
Fertilizing is crucial for maximizing Brussels sprout yield. Apply nitrogen-rich fertilizers to promote leafy growth.
- Application Timing:
- At transplanting, apply a balanced NPK fertilizer (10:10:10 or similar) to support early growth.
- At 4–6 weeks after transplanting, apply additional nitrogen (such as urea) to encourage sprout development.
- Fertilizer Amount: Use about 50 kg of nitrogen per hectare, split into two or three applications throughout the growing season.
Weeding and Soil Aeration
Weeds can compete with Brussels sprouts for nutrients and water. Regular weeding is essential, especially in the early growth stages. Use mechanical tools like hoes or small tractors with row crop cultivators to manage weeds.
4. Pests and Diseases
Brussels sprouts are susceptible to various pests and diseases that can hinder growth and reduce yield. Monitoring crops frequently is essential to ensure timely intervention.
Common Pests
- Aphids: These small insects feed on plant sap, causing stunted growth. They are most active in warm weather.
- Cabbage worms: These larvae feed on the leaves and sprouts, reducing crop quality.
- Flea Beetles: These pests cause small holes in the leaves, which can affect plant health.
Common Diseases
- Downy Mildew: This fungal disease causes yellow patches on leaves, leading to crop decline. It thrives in cool, damp conditions.
- Clubroot: A soil-borne disease that affects the roots, causing them to swell and leading to stunted plant growth.
- Black Rot: A bacterial infection that causes yellowing and browning of leaves, leading to plant death.
Pesticide and Herbicide Use
- Pesticide Application: If pests are observed, apply an organic or chemical insecticide. For aphids and cabbage worms, insecticides like neem oil or pyrethroids are effective. For large infestations, systemic pesticides may be required.
- Herbicide Application: To control weeds, apply a post-emergent herbicide early in the growth stage. Be cautious with herbicide application near transplanting to avoid damaging the seedlings.
5. Sprout Development and Maturation
Staking
As Brussels sprouts grow tall, they may require staking or support to prevent the plants from toppling over, especially in windy conditions.
Watering During Sprout Formation
Water consistently to ensure sprout development, particularly during the sprouting phase. Lack of water during this period can result in smaller, lower-quality sprouts.
Monitoring for Pests and Diseases
Continue monitoring plants regularly during sprout development. Early detection of pests and diseases ensures they don’t reduce crop quality.
6. Harvesting
When to Harvest
Brussels sprouts are typically ready for harvest 90–120 days after transplanting. The sprouts should be firm and about 2–4 cm in diameter. Harvest when the sprouts near the bottom of the stalk are mature, moving upward as the upper sprouts develop.
- Harvesting Method: You can hand-pick mature sprouts or use mechanical harvesters for larger-scale operations.
- Harvesting Machinery: Small-scale farmers may use manual tools, while large-scale farmers can invest in harvesting equipment like Brussel sprout toppers, which efficiently cut and gather the sprouts.
7. Post-Harvest Handling and Storage
Cleaning and Sorting
After harvesting, clean the sprouts by removing any damaged leaves and trimming the stalk. Sort the sprouts by size and quality for market.
Storage
Brussels sprouts can be stored in cool, moist conditions. Keep them at a temperature of 0°C with 90-95% relative humidity to prolong freshness.
- Storage Duration: Under proper conditions, Brussels sprouts can be stored for up to 3–5 weeks. For longer storage, consider freezing them.
Growing Brussels sprouts in South Africa offers farmers a lucrative opportunity, but it requires careful planning and management. From soil preparation to pest control and irrigation, every stage of the growth cycle is crucial for ensuring a high-quality harvest. By selecting the right equipment, staying vigilant for pests and diseases, and using effective fertilizers and irrigation techniques, South African farmers can successfully grow and harvest Brussels sprouts, bringing a fresh, nutritious vegetable to market.
Join 'Farmers Mag' WhatsApp Channel
Get the latest Farming news and tips delivered straight to your WhatsApp
CLICK HERE TO JOIN