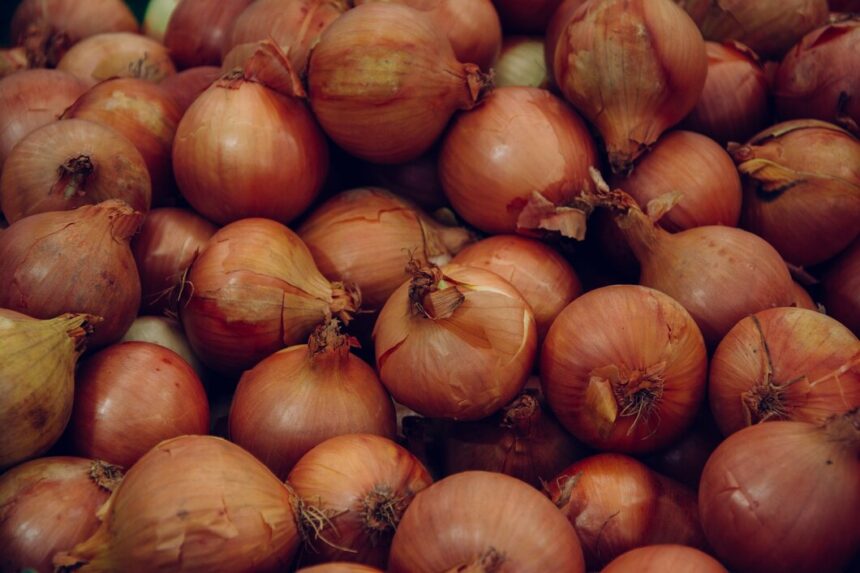
Onions are a staple vegetable in South Africa, cherished for their flavor and versatility in various cuisines. Growing onions can be a rewarding endeavor for farmers, but it requires careful planning and management from seed to harvest. This article outlines the essential steps involved in growing onions, including land preparation, growth stages, pest and disease management, and post-harvest storage.
1. Land Preparation
Before planting onions, proper land preparation is crucial for successful growth.
- Soil Type: Onions thrive in well-drained, loamy soils rich in organic matter. Ideal soil pH ranges from 6.0 to 7.0. Sandy soils can also work, but they must retain moisture.
- Land Preparation Steps:
- Clearing: Remove debris, rocks, and previous crop residues from the field.
- Tillage: Use a plough to turn the soil and break up clumps. Harrow to create a fine seedbed.
- Soil Testing: Conduct a soil test to determine nutrient levels and pH. This helps tailor fertilizer applications to the soil’s needs.
2. Choosing the Right Variety
Select onion varieties suitable for the local climate and market demand. Common varieties in South Africa include:
- Stuttgarter: A popular yellow onion variety with good storage qualities.
- Red Baron: A red onion known for its strong flavor and good shelf life.
- California Wonder: A sweet onion variety preferred for fresh consumption.
3. Seed Sowing
Onions can be grown from seeds, sets, or transplants. Growing from seeds is cost-effective but requires more management.
- Timing: In South Africa, onion seeds are usually sown from late winter to early spring (August to September) for summer harvests.
- Seed Sowing Process:
- Seed Rate: Sow seeds at a rate of approximately 2-3 kg per hectare.
- Row Spacing: Space rows about 30-40 cm apart and seeds 10-15 cm apart within the row.
- Depth: Sow seeds at a depth of 1-2 cm.
4. Irrigation Requirements
Onions require consistent moisture for optimal growth.
- Water Requirements: Onions need about 25-30 mm of water per week during the growing season. Adjust based on rainfall and soil moisture levels.
- Irrigation Frequency: Water onions every 7-10 days, ensuring the soil remains moist but not waterlogged. Drip irrigation is preferred for its efficiency and ability to minimize disease.
5. Growth Stages
Onions go through several growth stages, each requiring specific management practices:
- Germination (Days 1-10): After sowing, seeds germinate within 7-10 days. Ensure consistent moisture during this period.
- Seedling Stage (Days 10-30): The young plants develop their first true leaves. Regularly check for weeds and maintain moisture levels.
- Bulb Formation (Days 30-70): As daylight hours increase, the plants transition to bulb formation. Fertilization is crucial at this stage. Use a balanced fertilizer (N-P-K ratio of 20-10-20) to encourage bulb growth.
- Mature Bulbs (Days 70-110): Bulbs grow larger and become mature. Reduce watering as the bulbs approach harvest to prevent rot.
6. Fertilization
Proper fertilization supports healthy growth and bulb development.
- Pre-Planting Fertilizer: Incorporate well-rotted manure or compost into the soil before planting. A soil test can help determine specific nutrient needs.
- Side Dressing: Apply additional nitrogen fertilizer (such as urea) during the growing season, particularly during the bulb formation stage. Monitor the plants for signs of nutrient deficiency (yellowing leaves) to adjust applications.
7. Weed Control
Weeds compete with onions for nutrients and water.
- Herbicides: Use pre-emergent herbicides like metolachlor or pendimethalin before sowing to prevent weed growth. For post-emergent control, use contact herbicides like glyphosate, ensuring it does not contact the onion plants.
- Manual Weeding: Regularly check for weeds and remove them manually, especially in the early growth stages.
8. Pest and Disease Management
Onions are susceptible to various pests and diseases. Here are some to watch for:
- Pests:
- Onion Fly: Look for small maggots in the bulb. Use insecticides like carbaryl or pyrethroids when the first signs of damage are noticed.
- Thrips: These small insects cause leaf discoloration. Apply neem oil or insecticidal soap if infestations are severe.
- Diseases:
- Downy Mildew: Symptoms include yellowing leaves and white fungal growth. Apply fungicides like mancozeb if detected early.
- Fusarium and Botrytis Rot: Both can cause bulb decay. Rotate crops and avoid overhead watering to minimize risks.
9. Harvesting
Onions are ready for harvest when the tops begin to yellow and fall over, typically 90-120 days after sowing.
- Harvesting Process:
- Pull onions gently from the ground using a fork or hand to avoid damaging the bulbs.
- Allow harvested onions to dry in the field for a few hours before moving them to a shaded area for complete curing.
10. Post-Harvest Storage
Proper storage is crucial to maintain onion quality and extend shelf life.
- Curing: Cure onions in a dry, well-ventilated area for 2-3 weeks to harden the outer skin and reduce moisture content.
- Storage Conditions: Store cured onions in a cool, dry place with good air circulation. Ideal storage temperature is around 0-4°C with humidity levels below 70%.
Growing onions from seed to harvest is a rewarding process that requires careful management of soil, water, pests, and diseases. By following these steps and maintaining attention to detail throughout the growth cycle, South African farmers can produce high-quality onions that contribute to their livelihoods and local markets. Proper planning, monitoring, and timely interventions will lead to a successful onion crop that meets consumer demands and promotes sustainable agricultural practices.
Join 'Farmers Mag' WhatsApp Channel
Get the latest Farming news and tips delivered straight to your WhatsApp
CLICK HERE TO JOIN


