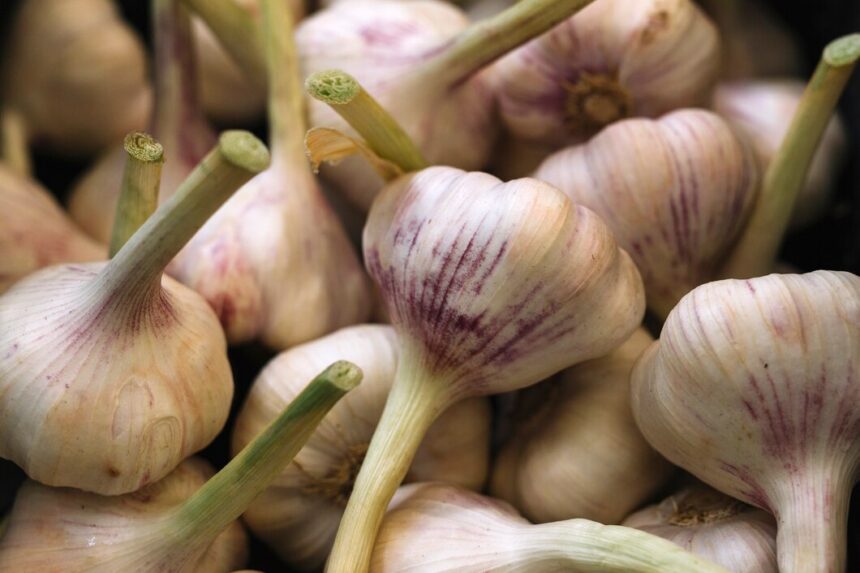
Garlic (Allium sativum) is a popular and versatile crop that not only enhances culinary dishes but also offers numerous health benefits. Growing garlic can be a rewarding venture for South African farmers due to its high market demand and relatively low input costs. This article will guide you through the entire process of growing garlic, from seed selection to harvest and storage, including essential inputs, machinery, and disease management.
1. Land Preparation
Before planting garlic, proper land preparation is crucial.
- Site Selection: Choose a well-drained site that receives full sunlight. Garlic thrives in a location with good air circulation and soil that has not hosted garlic or onions in the past three years to reduce disease risk.
- Soil Type: Garlic prefers loamy or sandy soil with a pH of 6.0 to 7.5. Conduct a soil test to determine pH and nutrient levels. Amend soil with organic matter or compost to improve fertility and drainage.
- Tillage: Prepare the soil by plowing or tilling to a depth of 20-30 cm. This process helps aerate the soil and improves drainage. Break up large clumps and remove any debris, rocks, or weeds.
- Fertilization: Apply a balanced fertilizer (e.g., 10-10-10 NPK) before planting, at a rate of about 100 kg per hectare. Incorporate it into the soil.
2. Seed Selection and Planting
- Seed Selection: Garlic can be grown from individual cloves or seed garlic. Choose healthy, disease-free seed garlic varieties suited to local conditions, such as ‘Local White’, ‘Giant Red’, or ‘Early Purple’.
- Planting Time: In South Africa, garlic is typically planted in late autumn (March to April) or early spring (August to September) depending on the region.
- Planting Technique: Separate the cloves and plant them 5-7 cm deep, with the pointed end facing up. Space cloves 10-15 cm apart in rows that are 30-45 cm apart. For larger yields, consider planting in double rows.
3. Watering Requirements
Garlic requires consistent moisture, particularly during the first few weeks after planting and during the bulbing phase.
- Irrigation: Use drip irrigation or soaker hoses to provide even moisture without wetting the foliage, reducing the risk of disease.
- Water Frequency: Water the garlic once a week, providing 2.5-5 cm of water per irrigation. Reduce watering as the bulbs mature (about 2-4 weeks before harvest) to allow the skins to toughen.
4. Growth Stages
Garlic goes through several growth stages:
- Germination (2-4 weeks): After planting, garlic cloves will begin to sprout. Ensure consistent moisture during this stage to support healthy germination.
- Leaf Development (4-8 weeks): The plant develops green leaves, which are essential for photosynthesis. Monitor for weeds and control them through hand weeding or mulching.
- Bulbing (8-16 weeks): This is the critical stage where the bulb begins to form. Adequate moisture and nutrient availability are crucial. Increase nitrogen fertilizer slightly during this stage to promote leaf growth.
- Maturation (16-24 weeks): As the leaves start to yellow and die back, the garlic is nearing harvest time. Stop watering to allow the bulbs to mature fully.
5. Harvesting
Garlic is typically ready for harvest when the lower leaves turn brown, and the upper leaves are still green, usually around 6-8 months after planting.
- Harvesting Technique: Carefully lift the bulbs using a fork or spade to avoid bruising. Be cautious not to damage the skins, as this affects storage quality.
6. Post-Harvest Handling
- Curing: After harvesting, cure the garlic in a shaded, well-ventilated area for 2-3 weeks. This process allows the skins to dry and helps improve storage life.
- Cleaning: After curing, clean the bulbs by removing excess dirt without damaging the skins or roots.
7. Storage
- Storage Conditions: Store cured garlic in a cool, dry, and dark place. Ideal storage conditions are temperatures between 0-5°C with low humidity. Garlic can be stored for up to 6-12 months.
8. Disease Management
Garlic is susceptible to various diseases and pests, and managing these risks is crucial for a successful harvest.
- Diseases: Common diseases include white rot, downy mildew, and bacterial soft rot.
- Prevention: Rotate crops, choose disease-resistant varieties, and ensure good drainage to prevent rot.
- Pests: Watch for pests like onion thrips and garlic bloat nematodes.
- Control Methods: Use insecticidal soaps or neem oil for pest control when infestations occur. Apply pesticides as a last resort and according to local regulations.
9. Fertilization
- Nutrient Needs: Garlic requires balanced nutrition for optimal growth. Apply a nitrogen-rich fertilizer during the leaf development phase and a phosphorus-rich fertilizer during the bulbing stage.
- Soil Testing: Conduct soil tests regularly to determine nutrient needs and amend accordingly.
10. Machinery and Equipment
- Required Equipment: Basic equipment needed includes a tractor for tilling, a planter for planting cloves, irrigation systems (drip or hose), and tools for weeding and harvesting.
Growing garlic from seed to harvest involves careful planning, proper techniques, and ongoing management to ensure a healthy crop. By following these detailed steps and paying attention to factors such as soil health, watering, and disease management, South African farmers can enjoy a successful garlic harvest that contributes to their livelihood and meets market demands. With dedication and knowledge, garlic cultivation can be a fruitful addition to any farming operation.
Join 'Farmers Mag' WhatsApp Channel
Get the latest Farming news and tips delivered straight to your WhatsApp
CLICK HERE TO JOIN