Composting and vermicomposting are two effective methods for organic waste management that promote sustainability and environmental stewardship. Both techniques involve the decomposition of organic matter to produce nutrient-rich compost, which can be used as a soil amendment or fertilizer.
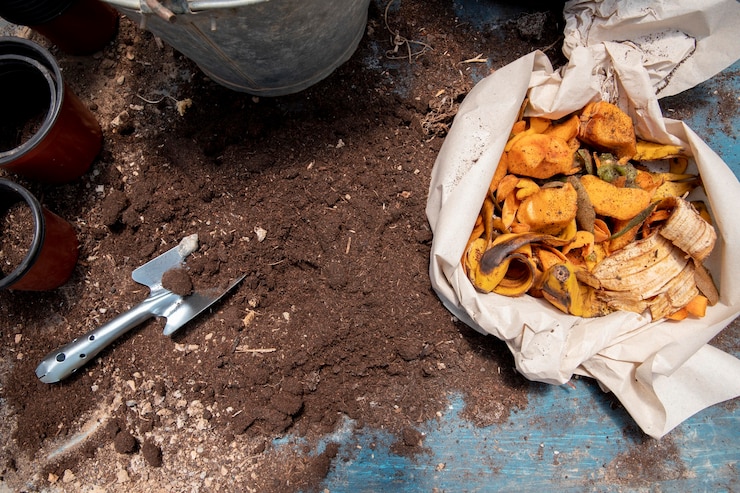
- Composting: Composting is the natural process of decomposing organic materials, such as kitchen scraps, yard waste, and plant residues, into a dark, crumbly substance known as compost. Here are the basic steps involved in composting:
a. Collect organic waste: Gather organic materials like fruit and vegetable scraps, coffee grounds, tea leaves, yard trimmings, and shredded paper.
b. Create a compost pile or bin: Choose a suitable location for your compost pile or use a compost bin. Ideally, the pile should be placed on bare soil to allow for drainage and the entry of beneficial organisms.
c. Layer the materials: Alternate layers of green (nitrogen-rich) and brown (carbon-rich) materials. Greens include food scraps and fresh plant trimmings, while browns include dry leaves, straw, and shredded newspaper. Make sure to keep the pile moist but not overly wet.
d. Turn the pile: Every few weeks, use a pitchfork or shovel to turn the compost pile. Turning helps aerate the mixture and speeds up decomposition.
e. Wait for decomposition: Depending on the materials used and environmental conditions, composting can take several months to a year. During this time, microorganisms break down the organic matter into nutrient-rich compost.
f. Use the compost: Once the compost is dark, crumbly, and earthy-smelling, it is ready to be used in your garden as a natural fertilizer or soil amendment.
- Vermicomposting: Vermicomposting is a specialized form of composting that involves the use of earthworms to break down organic waste. The worms consume the organic matter and produce castings, which are rich in nutrients and beneficial microorganisms. Here’s how to get started with vermicomposting:
a. Select a worm bin: Choose a suitable container for your vermicomposting system, such as a plastic bin with a lid. Ensure the bin has drainage holes to prevent excess moisture buildup.
b. Add bedding: Create a layer of moist bedding material, such as shredded newspaper, cardboard, or coconut coir, in the bin. The bedding provides a comfortable environment for the worms.
c. Introduce worms: Redworms (Eisenia fetida or Lumbricus rubellus) are commonly used for vermicomposting. Add them to the bin and allow them to settle into the bedding.
d. Feed the worms: Add small amounts of organic waste, such as vegetable scraps, coffee grounds, and crushed eggshells, to the bin. Bury the waste under the bedding to prevent fruit flies and odors.
e. Maintain the bin: Keep the bedding moist but not soaked. Monitor the moisture level and add water or dry bedding as needed. Avoid adding dairy, meat, oily foods, or large amounts of citrus, as they can attract pests or create imbalances.
f. Harvest the vermicompost: Over time, the worms will consume the organic matter and convert it into nutrient-rich castings. To harvest the vermicompost, push the contents of the bin to one side and add fresh bedding and food to the other side. The worms will migrate to the new food source, allowing you to collect the finished vermicompost from the emptied side.
Both composting and vermicomposting offer numerous benefits, including:
- Diverting organic waste from landfills, reducing methane emissions.
- Producing nutrient-rich compost that improves soil structure, fertility, and water retention.
- Enriching soil with beneficial microorganisms
Join 'Farmers Mag' WhatsApp Channel
Get the latest Farming news and tips delivered straight to your WhatsApp
CLICK HERE TO JOIN